Subject management
At its core, Castellum can be used to record which subjects have participated in which studies. This allows to keep track of all data related to a subject, e.g. to export or delete all of it on request.
Search for a subject
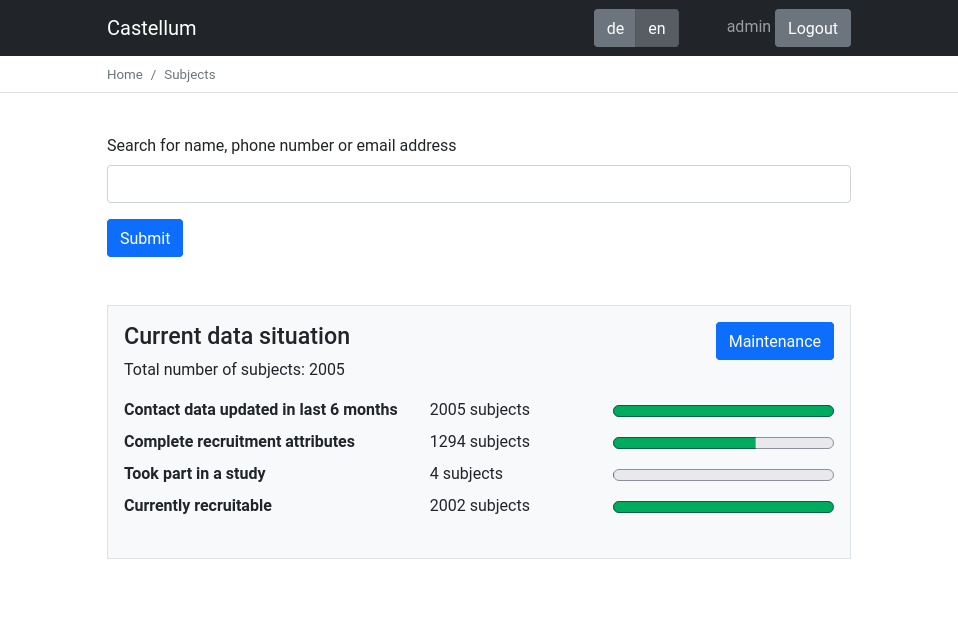
Click on Subjects on the front page
Enter the first name and surname, the email address, or the phone number
If you provide a second first name, you will only find the subject if that name was also entered in the contact data. So if you do not find a subject by full name, also try leaving out second names.
Keep the order as indicated
No comma needed
Confirm by clicking Search
Under the Matches tab all matching subjects or their legal representatives are listed. Next to their name the date of birth and, if provided, also their email address is displayed.
Confirm that you found the correct person by asking for a second feature (e.g. date of birth).
Warning
Only ask for a second feature, do not disclose any information yourself. This is to avoid leaking personal information to imposters.
Depending on your permissions, you know have different options:
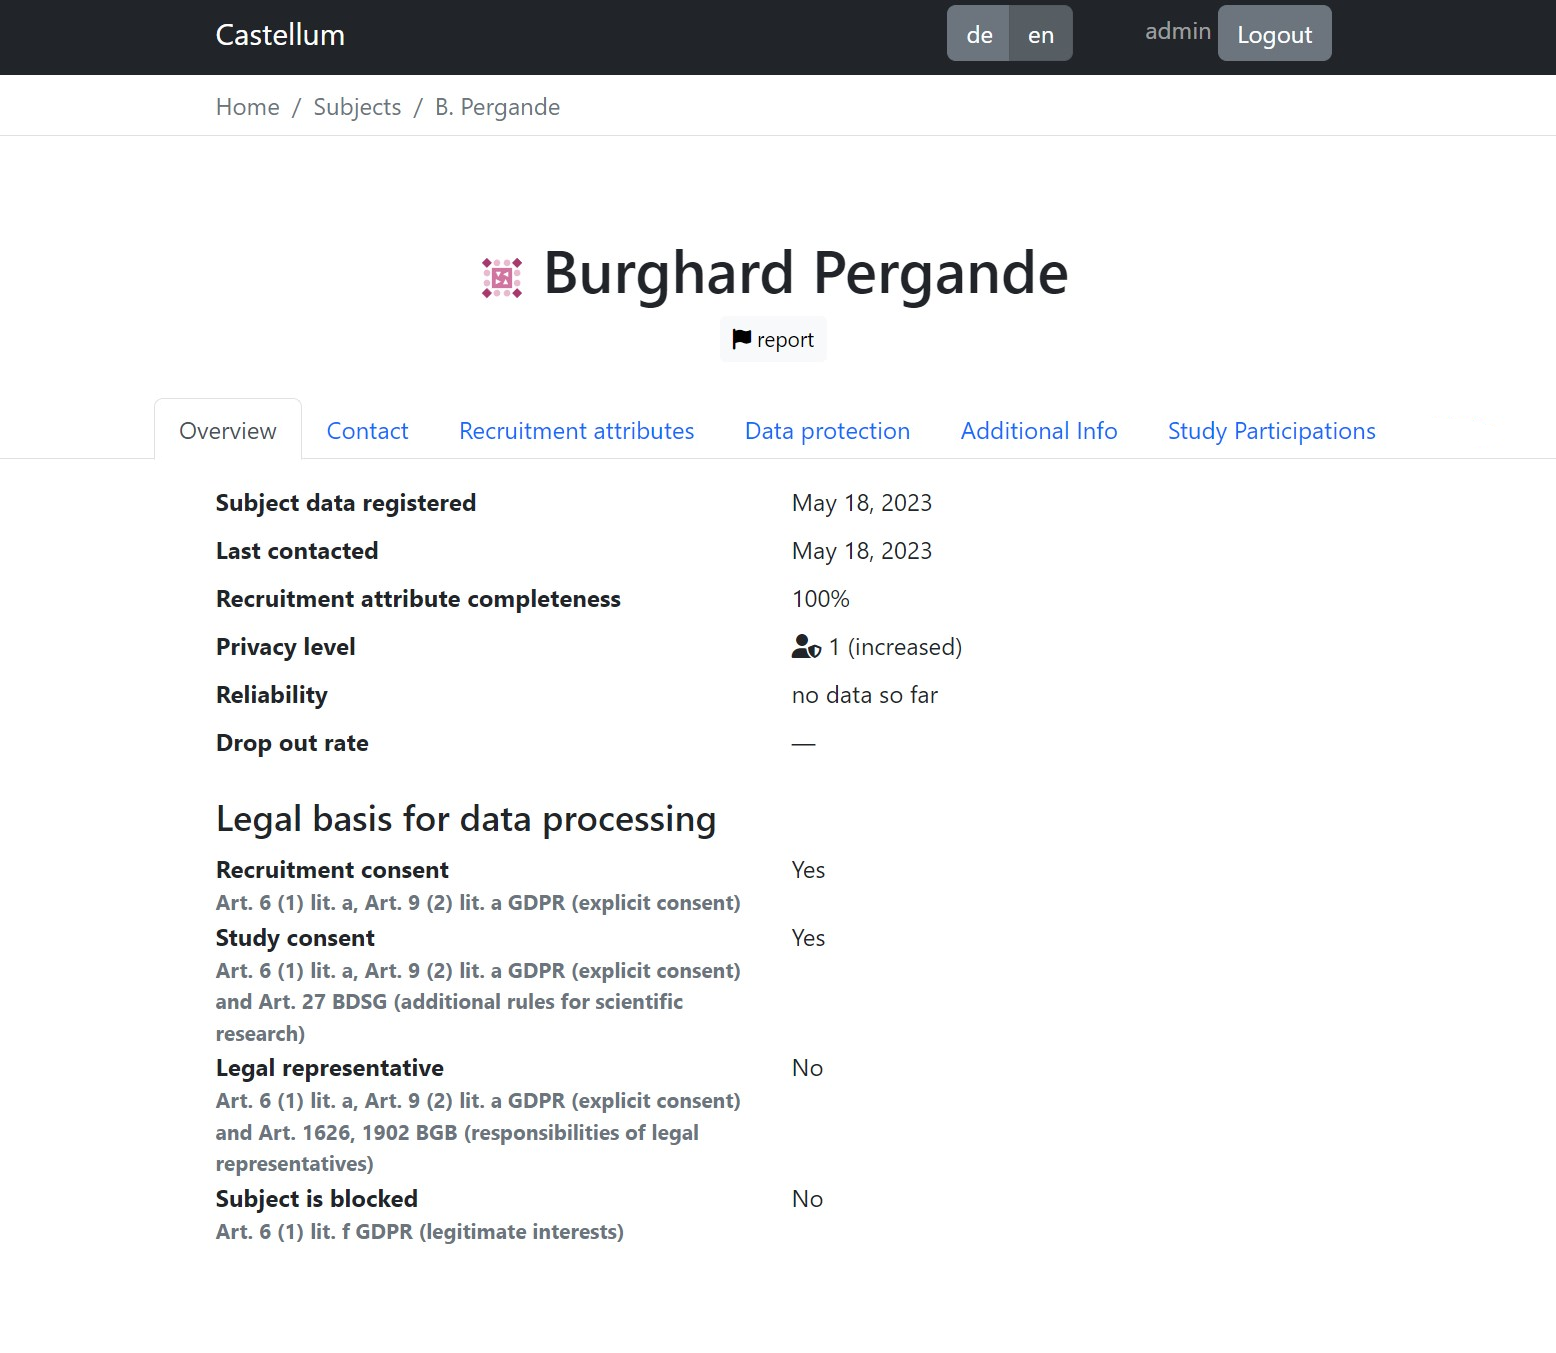
Details will allow you to access global information about the subject
Recruitment will allow you to access the recruitment information for this subject in a specific study
Execution will allow you to access the execution information for this subject in a specific study
Create a subject
In order to prevent duplicates, please search for the subject first. If the subject already exists in the database, you may update their information by clicking on Details button. Otherwise, you can switch to the Create tab (automatically selected if no matches could be found), select a privacy level, and click Create new subject.
A subject is initially created with very basic information on name and privacy level. A lot more information can and should be added after the subject has been created (see next section).
Edit Subject Data
You can edit subject data in the subject management, recruitment, and execution areas with similar features and functionality. Which area you use mostly depends on your permissions, as you may not have access to all of them.
Subject data is split into subsections:
Contact data for information that is needed to get in contact with a subject, e.g. name, email, and address. This is also where you set up legal representatives that should be contacted in place of the subject (e.g. for children).
Recruitment attributes are used to decide whether the subject is suitable for a study. Which attributes are available can be configured by administrators.
Data protection should be used for to document recruitment consent and GDPR requests (right of access and erasure).
Additional Info contains some fields that do not fit into other the categories, e.g. availability or data source.
Mark a subject for deletion
To satisfy GDPR requests for deletion of all data related to a subject, please proceed as follows:
Click on Subjects on the front page
Enter the first name and surname of the subject to be deleted into the search field and click on Search
Click on Details and then go to the Data protection tab
Select the checkbox To be deleted
Click on Save
The subject is now cleared for deletion from the database and deletion of their associated data. The data protection coordinator will take care of final deletion.
Delete a subject
You may want personal data and subjects to be completely deleted because of an explicit request from the subject or simply because there no longer is a sufficient legal basis to keep the data.
In order to delete the externally and internally stored data of a subject, please proceed as follows:
In the subject details, go to the Delete tab
If you see a message saying This subject cannot be deleted because there still is data about them in studies., proceed as follows:
Contact the responsible person for each study and ask them to delete all collected data of the subject that is not covered by retention policies. Identify the subject using the study pseudonym that is displayed.
Once the responsible contact person has confirmed the deletion of the data, delete the participation record using the Delete button.
If you see a message saying This subject may still have data in general pseudonym lists., proceed as follows:
Click on Pseudonyms next to General pseudonym lists to get a list of pseudonyms.
Contact the responsible person for each general pseudonym list and make sure that all data is deleted.
Once all participations have been deleted you will see a message saying Are you sure you want to permanently delete this subject and all related data? You can now click Confirm and the subject will be deleted.
You may select to block this subject from future recruitment. In this case, a hash of the name will be retained so that contacting this subject again can be avoided even after all contact data has been deleted.
Warning
There may still be data stored in a backup. Please check with your local IT department to verify proper deletion.
Note
Deleting a subject who has legal representatives will not automatically delete the corresponding legal representatives. However, if there is no other reason to keep the legal representatives in Castellum, they will appear in the data protection dashboard.
Hint
If you want to double check that the subject really wants to be deleted from the database, you can find the last person who was in contact with them via the Audit Trail.
Merging duplicates
In order to merge two entries that refer to the same person, proceed as follows:
Decide which entry to keep.
Manually merge the contact data and attributes
Go to the “Merge” tab in subject management (required the permission to delete subjects.)
Enter the UUID of the target subject and confirm.
If there are any conflicts (e.g. both entries have participations in the same study) Castellum will inform you. The conflicts have to be resolved manually before the merge can be completed.
Report a subject
If you experience inappropriate behavior from a subject and you have reason to believe that this subject should never be invited again to participate in any study, you can file a report which will be sent to the assigned reviewers to handle.
Go to a page for that subject (either in subject management, recruitment, or execution) by following the steps in Search for a subject.
In the header, under the name of the subject, click on report
You have the option to add wishes, regarding the handling of the report, by writing them into the textbox under Additional wishes (optional)
For example, if the incident was traumatic and you need additional support, you can write I would like to talk to someone about this incident, or even I would like to talk to someone of my own gender about this incident
To finalize the report, click on Send report
Hint
It is required to configure at least one email address that should receive
email notifications about new subject reports and handle them. Please ask
your system administrator to setup CASTELLUM_REPORT_NOTIFICATION_TO.
Block a subject
When a subject gets reported for inappropriate behavior, they will be blocked
temporarily. A link to the report will be sent to the reviewers who are listed
in CASTELLUM_REPORT_NOTIFICATION_TO. The report contains:
The name of the subject who was reported
The name of the user who made the report
The additional wishes of the user (if provided)
Reviewers can then decide what to do with the report:
They can confirm the block, in which case the subject will no longer be invited to studies. In order to enforce that block, their contact information will be stored even against their will.
They can discard this report and un-block the subject.
In both cases, the report is deleted for privacy reasons.
Add a subject to a study
Note
These are instructions on how to add a specific subject to a study. If you have a study and are looking for subjects, please use the recruitment guide instead.
There are two similar but different ways to add a subject to a study.
To add a subject to an active study whose filters match the attributes of the subject:
In the subject details, go to the Study participations tab
Search for your study.
Clicking on the button named Contact will take you to this subject’s contact page in the recruitment for the selected study. For further information on how to proceed from there, please see the please see the recruitment guide.
To add a subject to any study (only available with the subjects.add_to_study permission):
In the subject details, go to the Study participations tab
Under Add to study, search for your study.
Clicking on the button named Add to study will set this subject as participating in the study.
Note
Please note that this search doesn’t differentiate between active and finished studies. Matching filters are not checked either. This feature is intended to support migrating from other tools that previously tracked study participations.
Use the data protection dashboard
Click on Data protection on the front page to go to the data protection dashboard. This dashboard lists tasks you need to take care of by initiating follow-up steps for each category.
A subject is tagged Export requested if they requested a GDPR export. See Export all data related to a subject for the necessary steps.
A subject is tagged To be deleted, No legal basis, or Unreachable if they should be deleted for different reasons. See Delete a subject for the necessary steps.
A subject is tagged Unnecessary recruitment data if they have recruitment data, but no recruitment consent. See Clear unnecessary recruitment data for the necessary steps.
In all those categories it usually makes sense to contact the subjects before taking any action. For example, subjects often want only a part of their data deleted.
Most of the categories have legal time limits, so you should check the dashboard regularly.
Hint
It is recommended to configure an email address that should receive email
notifications about new data protection tasks. Please ask your system
administrator to setup CASTELLUM_GDPR_NOTIFICATION_TO.
Clear unnecessary recruitment data
If the subject does not have recruitment consent there is no legal basis for storing any recruitment data. In that case there will be a warning about the unnecessary recruitment data. You can either clear all data manually or use the Delete all button that is included in the warning.